Trim/Extend to T
Pick a boundary, then click each line or wall you want brought to it. Only the second pick moves — the boundary stays exactly where it is.
If you have used Revit, it is Trim/Extend Single Element, and Multiple Elements without the selection box.
| Works on | |
|---|---|
| Lines | Loose edges that bound no face, as the boundary or as the one that moves |
| Walls from other extensions | Muzwalls, Medeek and FlexTools walls, or layers you grouped by hand |
| Solid groups | A single solid, read as a wall of one layer |
| Any pair of these | A line can be the boundary for a wall, and a wall for a line |
Extend a line to a boundary
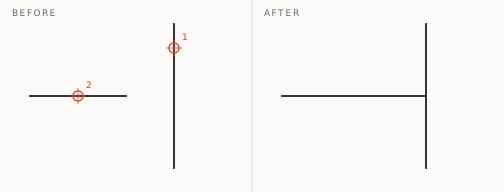
Click the boundary first, then the line on the side to keep. The line runs on until it meets the boundary.
Trim a line back to a boundary
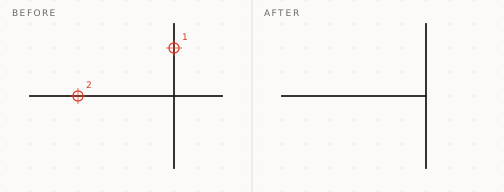
A line that runs through the boundary is cut back to it. The part you clicked on is the part that stays.
A row of lines, one click each
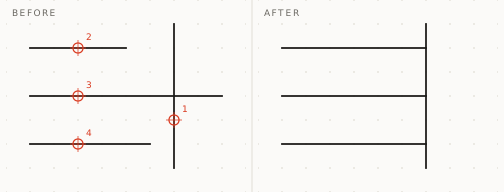
The boundary stays picked after each trim, so a row of lines or walls is brought to it one click at a time. Esc lets go of the boundary.
A wall into another wall's run
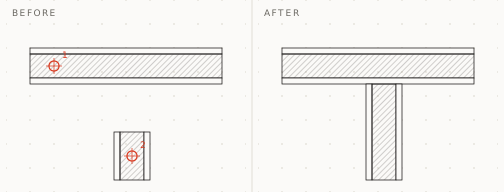
A wall brought to the run of another wall is joined there as a T. The wall you ran into stays as it is; the joining wall's end is cut square on its face.
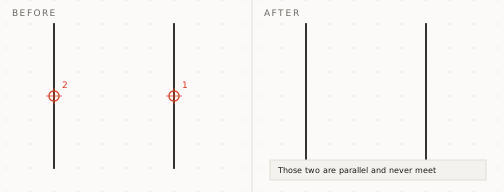
When they never meet, it says so
A line parallel to the boundary never reaches it. Trim/Extend to T leaves both alone and says why in the status bar.
How it is used
| Input | What it does |
|---|---|
| Click | The boundary — a line, a wall or a wall group |
| Click | Each line or wall to bring to it, on the side to keep |
| Esc | Lets go of the boundary |
| Undo | Takes back one trim at a time |


For SketchUp on Windows and macOS.
An early build, so expect rough edges.